Knowledge Base
go directly to the main content
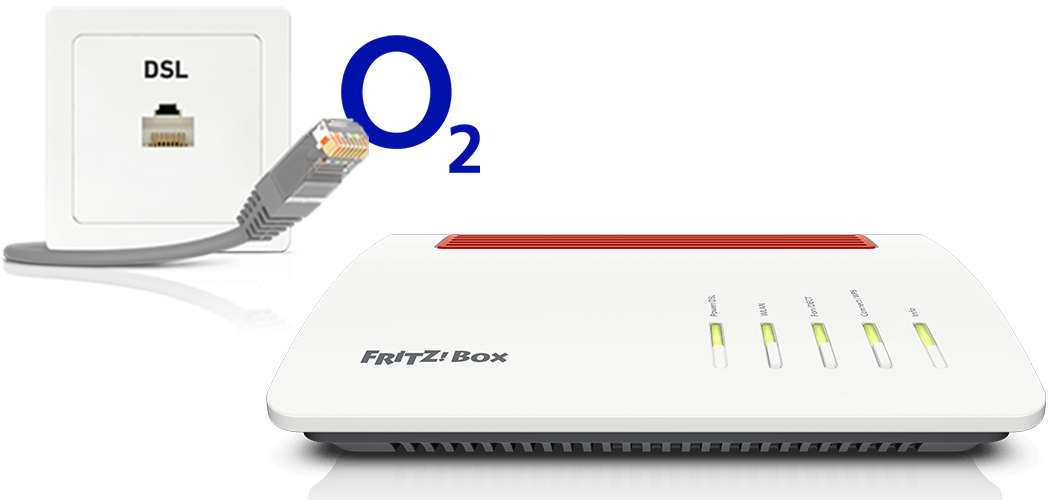
Setting up FRITZ!Box for use with a DSL line from o2
The FRITZ!Box is optimally prepared for use with a DSL line from o2. Simply connect the FRITZ!Box to the DSL line and enter your personal account information or your personal PIN in the FRITZ!Box user interface.
The complete FRITZ!Box range of functions for internet, telephony, and smart home is then available to all of the devices in your home network without restriction.
Note:All instructions on configuration and settings given in this guide refer to the latest FRITZ!OS for the FRITZ!Box.
1 Having your account information ready
- Have your personal account information for internet access and the login information for telephony that you received from o2 ready.
Note:You will find your account information in the o2 customer portal at www.o2online.de/mein-o2/zugangsdaten. If your account information is not displayed there, contact o2.
2 Connecting the FRITZ!Box to the DSL line
- Insert the DSL cable (Y cable) into the 'DSL' socket on the FRITZ!Box and one of the two short cable ends into the DSL socket. Leave the other end of the cable hanging.
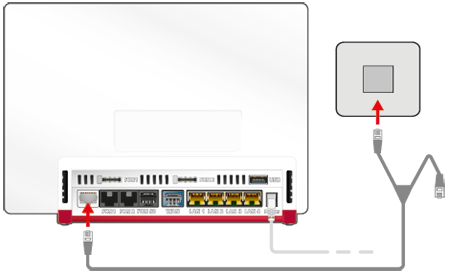
Using a DSL cable to connect FRITZ!Box with a VDSL line
3 Configuring the internet connection in the FRITZ!Box
- Open the FRITZ!Box user interface.
- Enter the FRITZ!Box password given on the type label of the FRITZ!Box and click "Log In".
- If the wizard for internet access does not start automatically, click "Wizards" and then "Configure the Internet Connection".
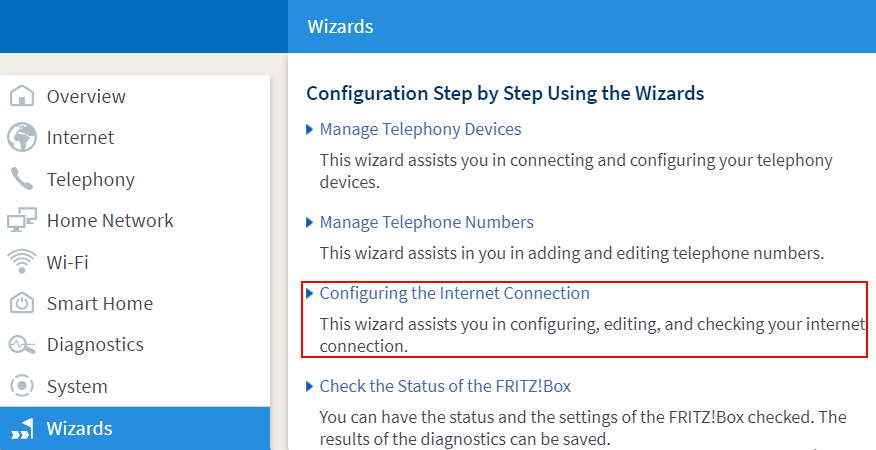
Calling up the FRITZ!Box wizard - Select "o2" and then "o2 DSL" from the drop-down list.
- Enter the account information you received from o2 in the fields.
- Click "Next" and follow the wizard's instructions.
- Now the FRITZ!Box establishes a connection to o2 and automatically configures the internet connection and your internet telephone numbers.
Important:If configuration fails, your internet access may not have been activated yet. In this case, contact o2.
4 Setting up telephony in the FRITZ!Box
Configuring phone numbers
If your phone numbers are not configured automatically when configuring the internet connection, configure the phone numbers in the FRITZ!Box as follows:
- Click on 'Telephony' in the FRITZ!Box user interface.
- Click on 'Phone Numbers' in the 'Telephony' menu.
- Click on the 'New Phone Number' button.
- Select 'o2' from the drop-down list.
- Enter your area code and phone number by 'Telephone Number'.
- Enter the login information you received from o2 by 'SIP username' and 'SIP password'.
- Click on 'Next' and follow the wizard's instructions.
Assigning phone numbers
- Click on 'Telephony' in the FRITZ!Box user interface.
- Click on 'Telephony Devices' in the 'Telephony' menu.
- Click on the
 (Edit) button for the respective telephony device.
 Important:If the telephony device was not configured yet, click on the 'Configure New Device' button and follow the wizard's instructions.
- From the 'Outgoing Calls' drop-down list, select the number to be used by the telephony device for making outgoing calls. If you do not select a phone number, the number entered under 'Telephony > Phone Numbers > Line Settings' is used for making calls.
- Select the phone numbers to which the telephony device should react when you receive calls. You can select up to ten numbers (including the number for outgoing calls).
- Click on 'Apply' to save the settings.