Setting up the FRITZ!Box for use with a Ziggo cable connection
The FRITZ!Box Cable is optimally prepared for use with a Ziggo cable connection. Simply connect the FRITZ!Box to the multimedia socket, have Ziggo activate the FRITZ!Box, and configure telephony.
The complete FRITZ!Box range of functions for internet, telephony, and smart home is then available to all of the devices in the home network without restriction.
1 Activating the FRITZ!Box
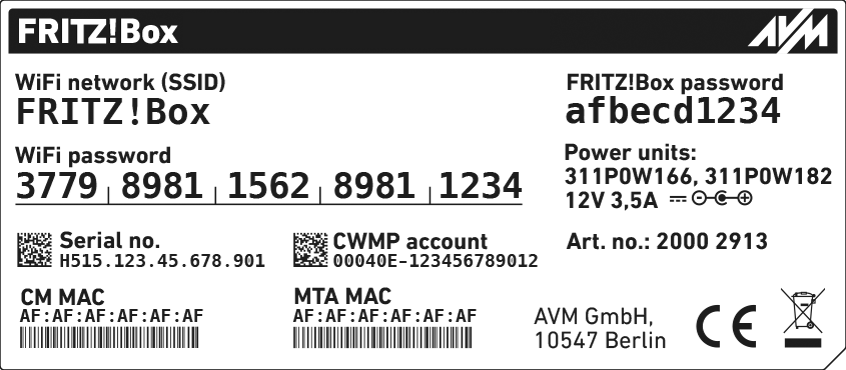
MAC addresses of the FRITZ!Box's cable modem (CM MAC + MTA MAC)
In the Vodafone & Ziggo app, activate the FRITZ!Box for your cable connection or contact Ziggo's customer service at 0900 1884 to have them activate the FRITZ!Box for your cable connection. You need to have the MAC addresses of your FRITZ!Box's cable modem (CM MAC and MTA MAC) for activation. You can find these on the FRITZ!Box's type label.
2 Connecting the FRITZ!Box
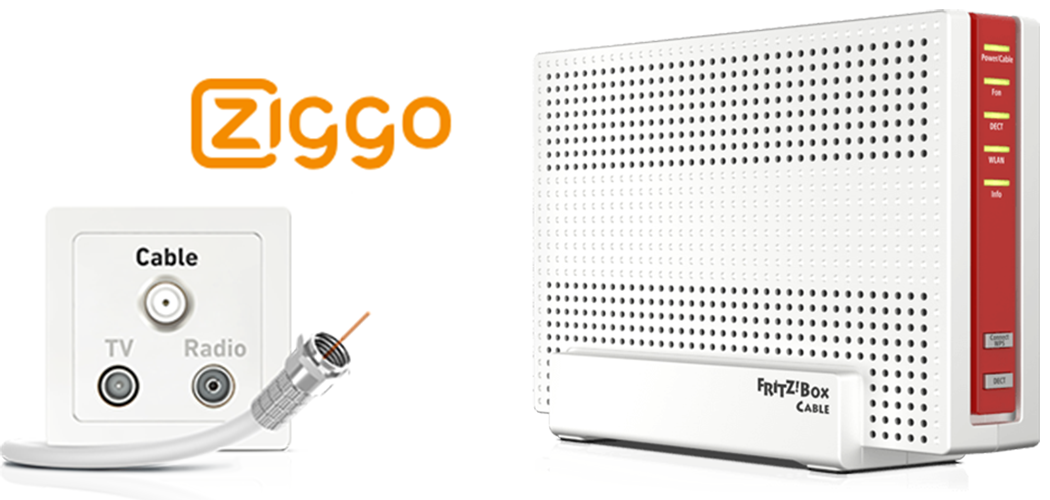
Insert one end of the coaxial cable into the Cable socket on the FRITZ!Box. Use the coaxial cable supplied with the FRITZ!Box, for example.
Insert the other end of the coaxial cable into the socket for the internet connection (data socket) on the multimedia socket in your home.
3 Configuring the internet connection in the FRITZ!Box
Enter the FRITZ!Box password given on the type label of the FRITZ!Box and click on 'Log In'.
If the 'Set up Internet Connection' menu is not displayed automatically:
Click on 'Internet' and then on 'Account Information'.
Enable the 'Internet connection via cable' option.
Wait until the 'Power / Cable' LED remains lit. Depending on the signal strength and the way your connection is configured, this may take up to 10 minutes.
Important:If the 'Power / Cable' LED flashes continuously, the cable connection has not been activated yet or the service is disrupted. In this case, contact Ziggo.
Click on 'Apply' or 'Next' to save the settings. Restart the FRITZ!Box to complete the configuration of your internet connection.
4 Setting up telephony in the FRITZ!Box
Having your account information ready
Have the account information for telephony that are displayed in the Mijn Ziggo app or that you received from Ziggo's customer service ready (for example the username and password).
Click on 'Telephony Devices' in the 'Telephony' menu.
Click on the (Edit) button for the respective telephony device.
Important:If the telephony device was not configured yet, click on the 'Configure New Device' button and follow the wizard's instructions.
From the drop-down list 'Outgoing Calls', select the number to be used by the telephony device for making outgoing calls. If you do not select a phone number, the number entered under 'Telephony > Telephone Numbers > Line Settings' is used for making calls.
Select the phone numbers to which the telephony device should react when you receive calls. You can select up to ten numbers (including the number for outgoing calls).
 (Edit) button for the respective telephony device.