Setting up the FRITZ!Box for use with a fibre optic connection from Wingo
The FRITZ!Box is optimally prepared for use with Wingo. Simply connect the FRITZ!Box to the fibre optic modem and configure the internet connection in the FRITZ!Box.
The complete FRITZ!Box range of functions for internet, multimedia, and smart home is then available to all of the devices in your home network without restriction.
Note:All instructions on configuration and settings given in this guide refer to the latest FRITZ!OS for the FRITZ!Box.
1 Connecting the FRITZ!Box
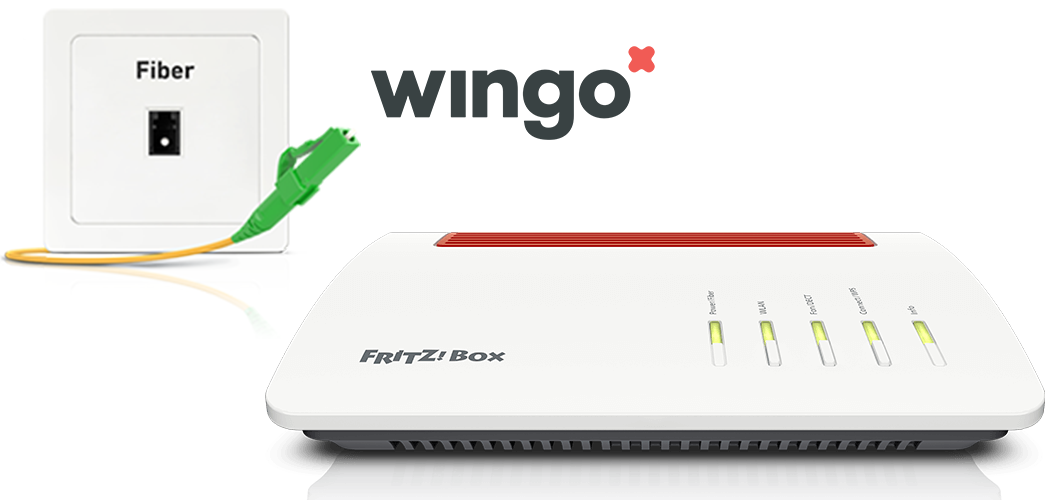
Insert one end of a network cable into the 'WAN' port on the FRITZ!Box. Use the network cable supplied with the FRITZ!Box, for example.
Insert the other end of the network cable into the LAN port on the fibre optic modem (ONT, Optical Network Termination).
2 Configuring the internet connection in the FRITZ!Box
Enter the FRITZ!Box password given on the type label of the FRITZ!Box and click on 'Log In'.
Click on 'Internet' and then on 'Account Information'.
Select 'DSL or fibre optic modem' from the 'Internet connection via' drop-down list.
Select 'other internet service provider'.
Enable the 'No' option in the 'Account Information' section.
Click on 'Change connection settings'.
Enable the 'Use VLAN for internet access' option.
Enter 10 in the field 'VLAN ID'.
Click on 'Apply' to save the settings.
Now the FRITZ!Box checks whether the internet connection can be established. Configuration is complete as soon as the message 'The internet connection check was successful' is displayed.
Important:If the internet connection check fails, your internet access may not have been activated yet. In this case, contact Wingo.