Knowledge Base
go directly to the main content
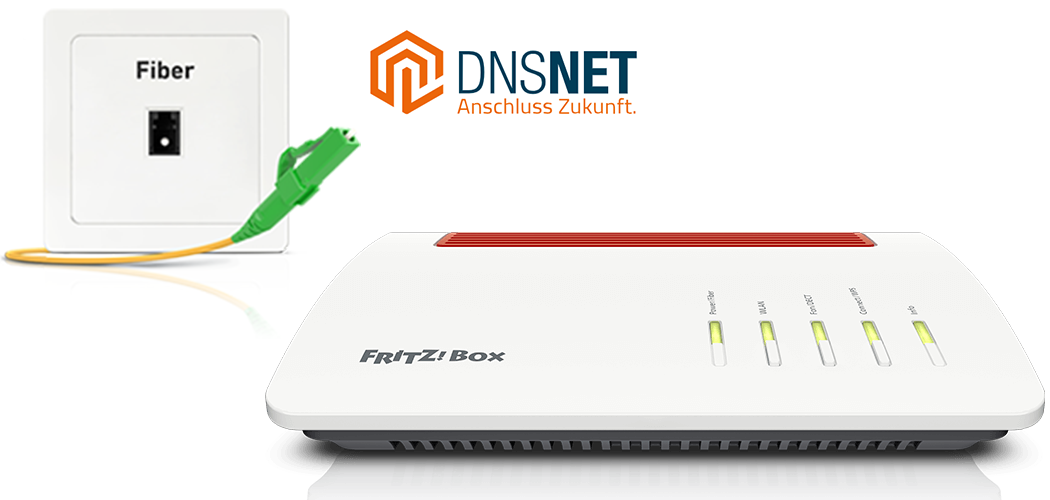
Setting up the FRITZ!Box for use with a fiber optic connection from DNS:NET
The FRITZ!Box is optimally prepared for use with a fiber optic connection from DNS:NET. Simply connect it to the fiber optic modem from DNS:NET and enter your personal account information in the FRITZ!Box user interface.
The complete FRITZ!Box range of functions for internet, telephony, and television (DNS:NET IPTV) is then available to all of the devices in your home network without restriction.
Note:All instructions on configuration and settings given in this guide refer to the latest FRITZ!OS for the FRITZ!Box.
1 Having your account information ready
- Have your personal account information for internet access and the login information for telephony that you received from DNS:NET ready.
Note:You will find your account information in the DNS:NET customer portal under 'Meine Dienste > Fiber > Zugangsdaten > Passwörter anzeigen'. If your account information is not displayed there, contact DNS:NET.
2 Connecting the FRITZ!Box
- Insert one end of a network cable into the 'WAN' port on the FRITZ!Box. Use the network cable supplied with the FRITZ!Box, for example.
- Insert the other end of the network cable into the LAN port on the fiber optic modem (ONT, Optical Network Termination).
3 Configuring the internet connection in the FRITZ!Box
- Open the FRITZ!Box user interface.
- Enter the FRITZ!Box password given on the type label of the FRITZ!Box and click on 'Log In'.
- Click on 'Internet' and then on 'Account Information'.
- Select 'DSL or fiber optic modem' from the 'Internet connection via' drop-down list.
- Select 'other internet service provider'.
- Enter the account information you received from DNS:NET in the relevant fields.
- Click on 'Change connection settings'.
- Enable the 'Use VLAN for internet access' option.
- Enter 37 in the 'VLAN ID' field.
- Click on 'Apply' to save the settings.
- Now the FRITZ!Box checks whether the internet connection can be established. Configuration is complete as soon as the message 'The internet connection check was successful' is displayed.
Important:If the internet connection check fails, your internet access may not have been activated yet. In this case, contact DNS:NET.
4 Setting up telephony in the FRITZ!Box
Configuring phone numbers
- Click on 'Telephony' in the FRITZ!Box user interface.
- Click on 'Phone Numbers' in the 'Telephony' menu.
- Click on the 'New Phone Number' button.
- Select 'Other provider' from the drop-down list.
- Enter your phone number including the area code (for example 05511234567) by 'Phone Number for Registration'.
- Enter your phone number (for example 1234567) by 'Internal phone number in the FRITZ!Box'.
- Enter the login information you received from DNS:NET by 'Username' and 'Password'.
- Enter sip.berlin.dns-net.de in the 'Registrar' field.
- Enter your area code by 'Area code'.
- Click on 'Next' and follow the wizard's instructions.
Adjusting the phone numbers
- Click on 'Telephony' in the FRITZ!Box user interface.
- Click on 'Phone Numbers' in the 'Telephony' menu.
- Click on the
 (Edit) button for the respective phone number.
 - Click on 'Additional Settings' to display all of the settings.
- By 'Suppress outgoing Caller ID (CLIR)', select the setting 'CLIR via display and username'.
- Click on 'Apply' to save the settings.
Assigning phone numbers
- Click on 'Telephony' in the FRITZ!Box user interface.
- Click on 'Telephony Devices' in the 'Telephony' menu.
- Click on the (Edit) button for the respective telephony device.
Important:If the telephony device was not configured yet, click on the 'Configure New Device' button and follow the wizard's instructions.
- From the 'Outgoing Calls' drop-down list, select the number to be used by the telephony device for making outgoing calls. If you do not select a phone number, the number entered under 'Telephony > Phone Numbers > Line Settings' is used for making calls.
- Select the phone numbers to which the telephony device should react when you receive calls. You can select up to ten numbers (including the number for outgoing calls).
- Click on 'Apply' to save the settings.